Relief Printing
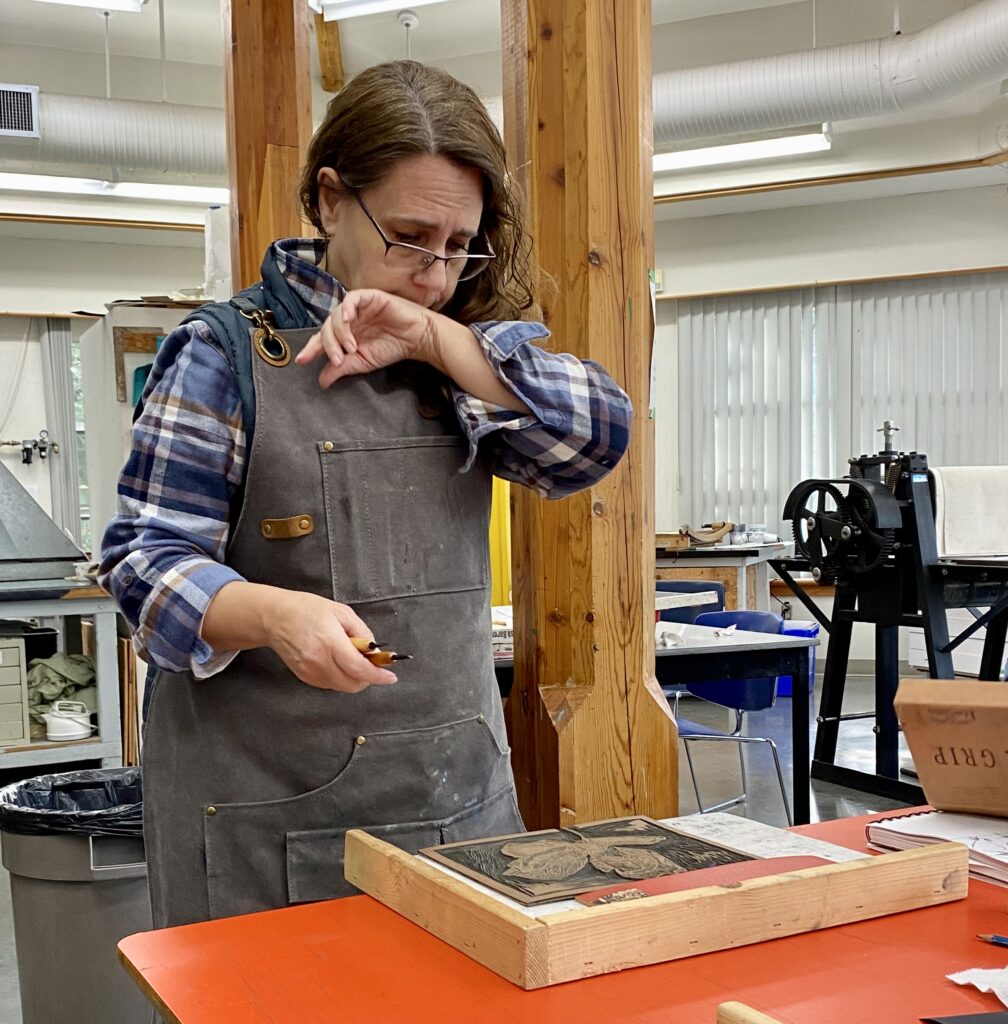
Instructor Linda Perron explaining Relief Printing
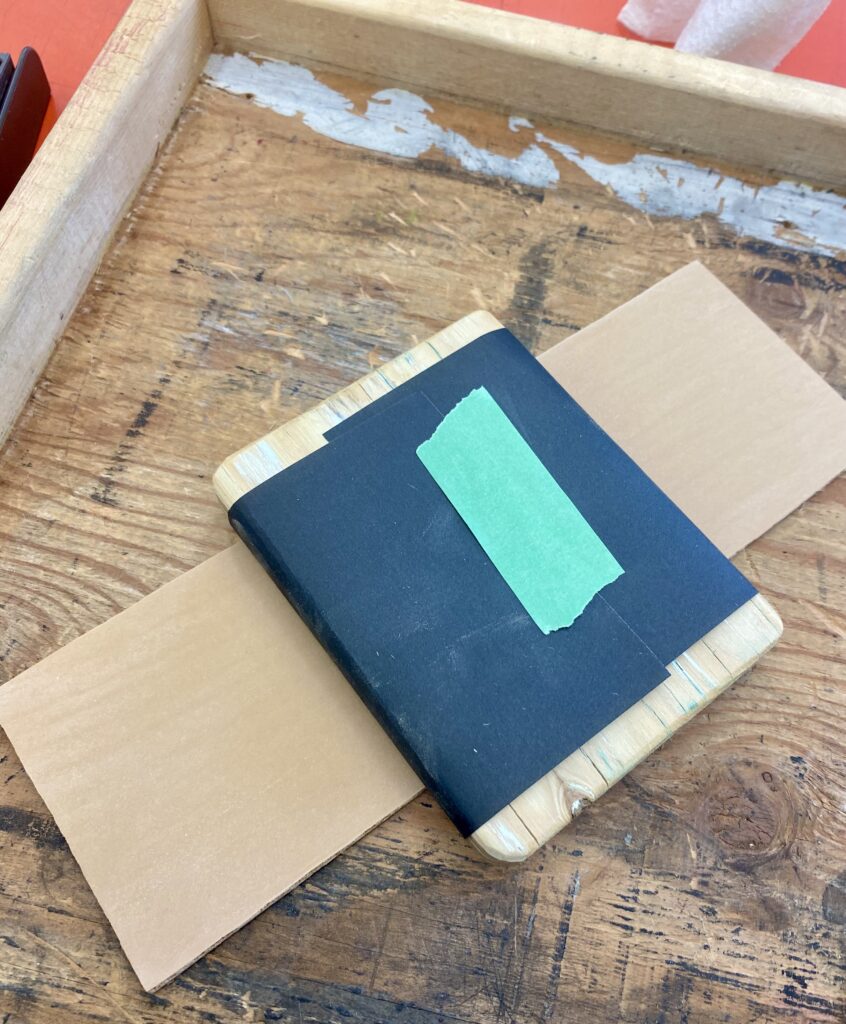
Getting the supplies needed for Lino cutting.
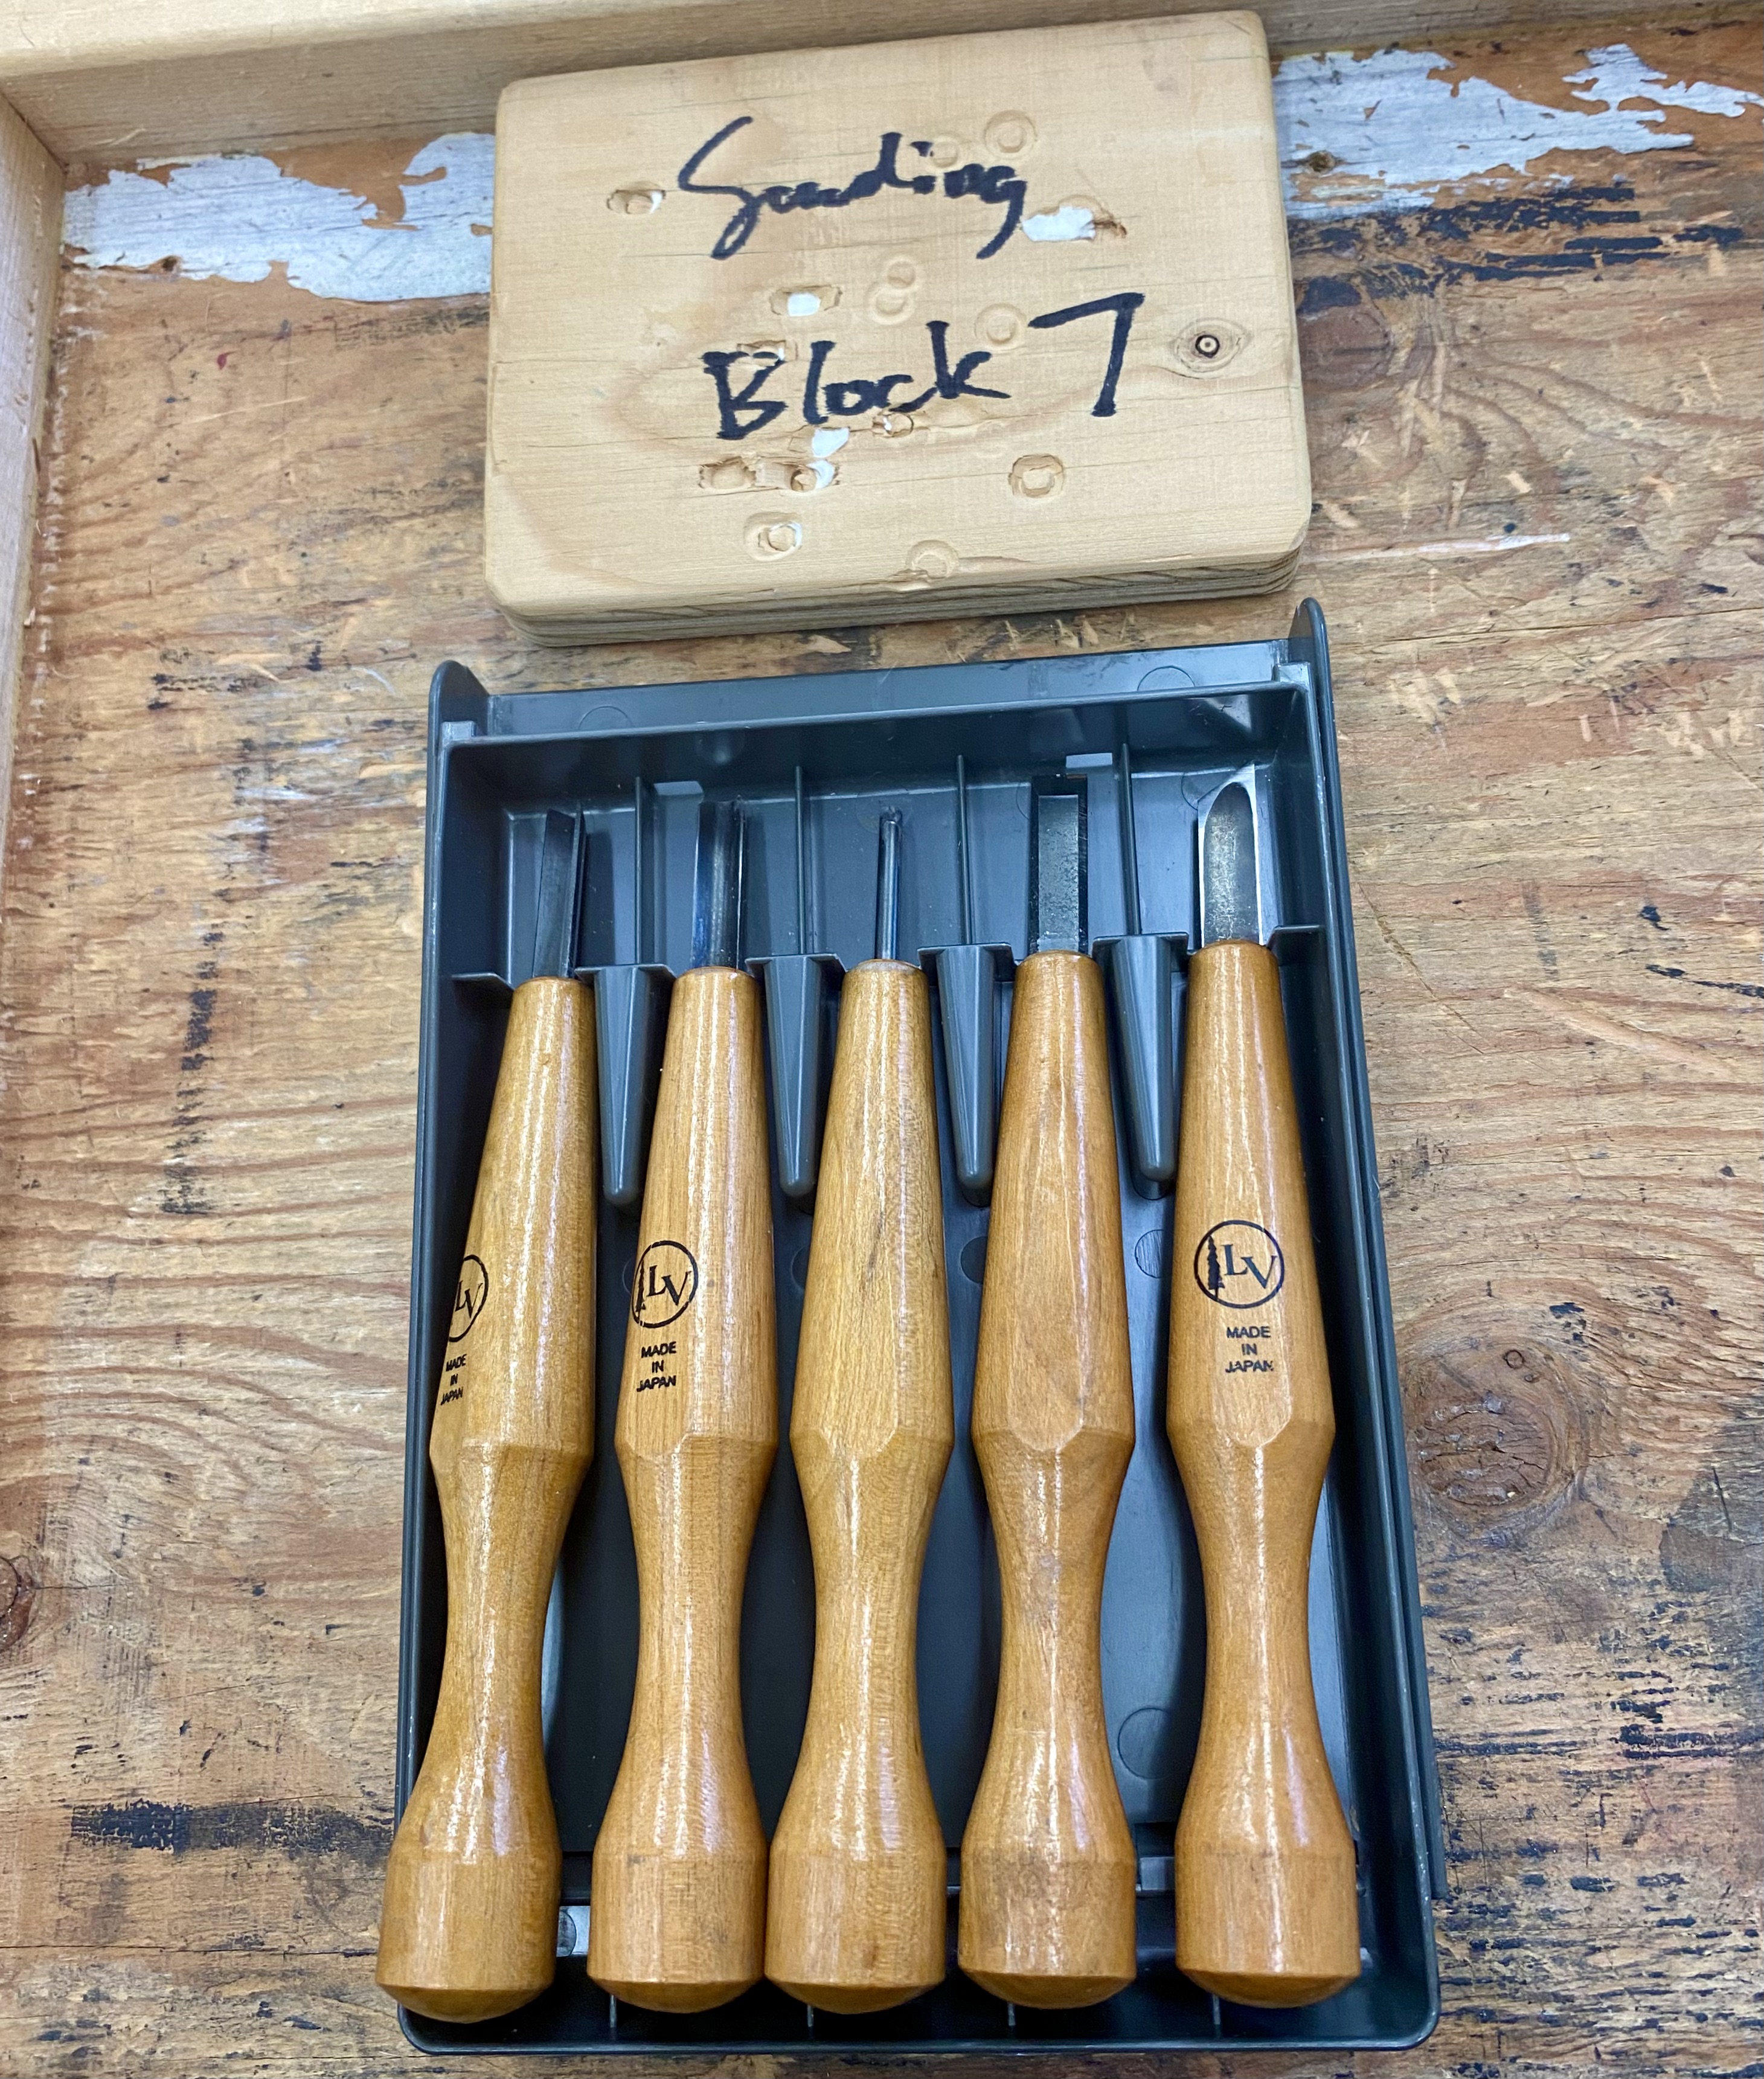
My set of tools I will be working with.
The first exercise is to create a Gradient Scale.
The lino board is first sanded with a 400 grit sandpaper to remove any bumps or blemishes on the surface.
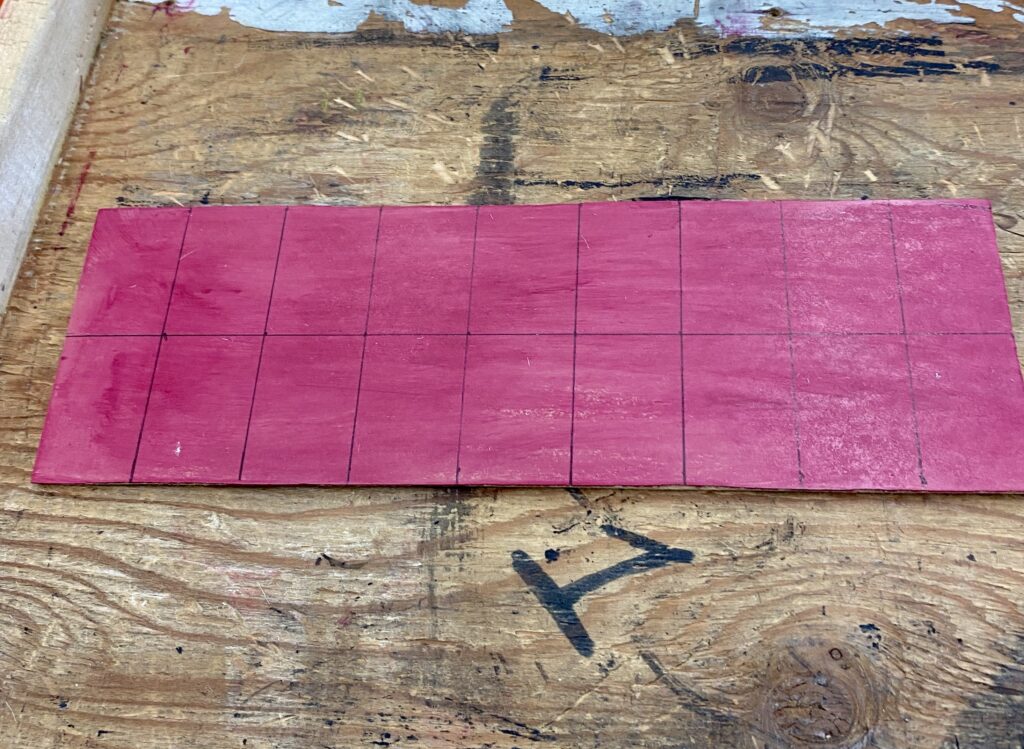
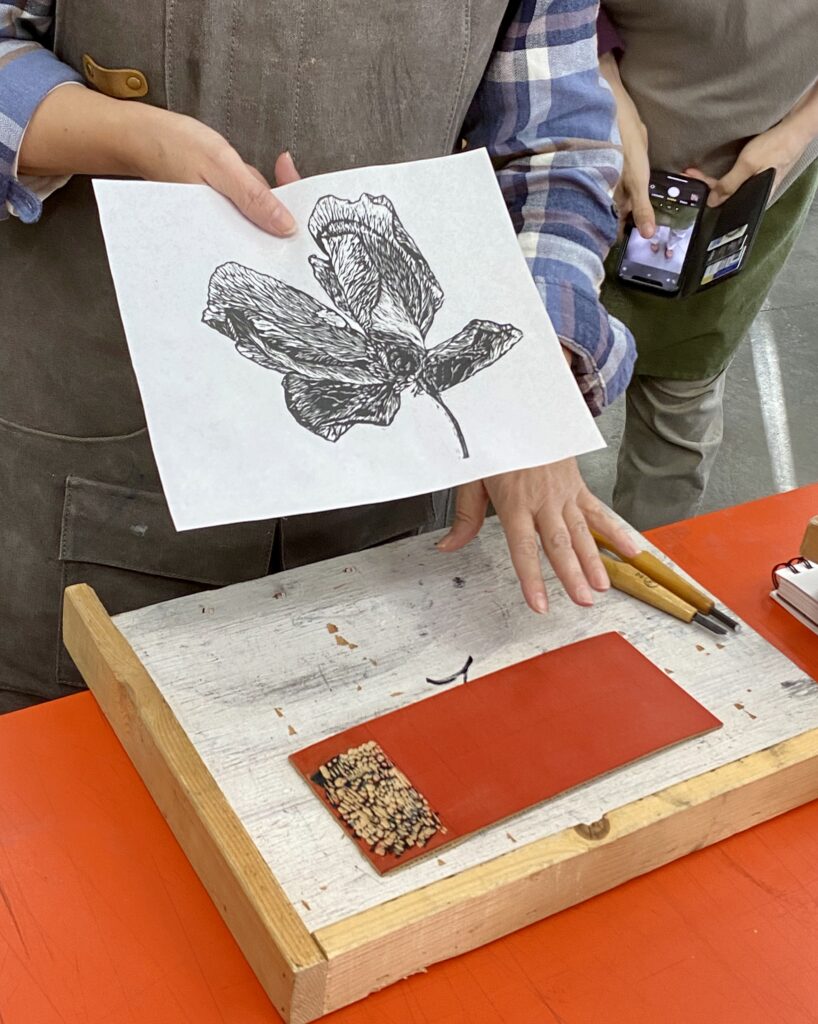
Acrylic red paint was painted onto the surface to aid with contrast during carving. The board was marked with a pen to create the grid.
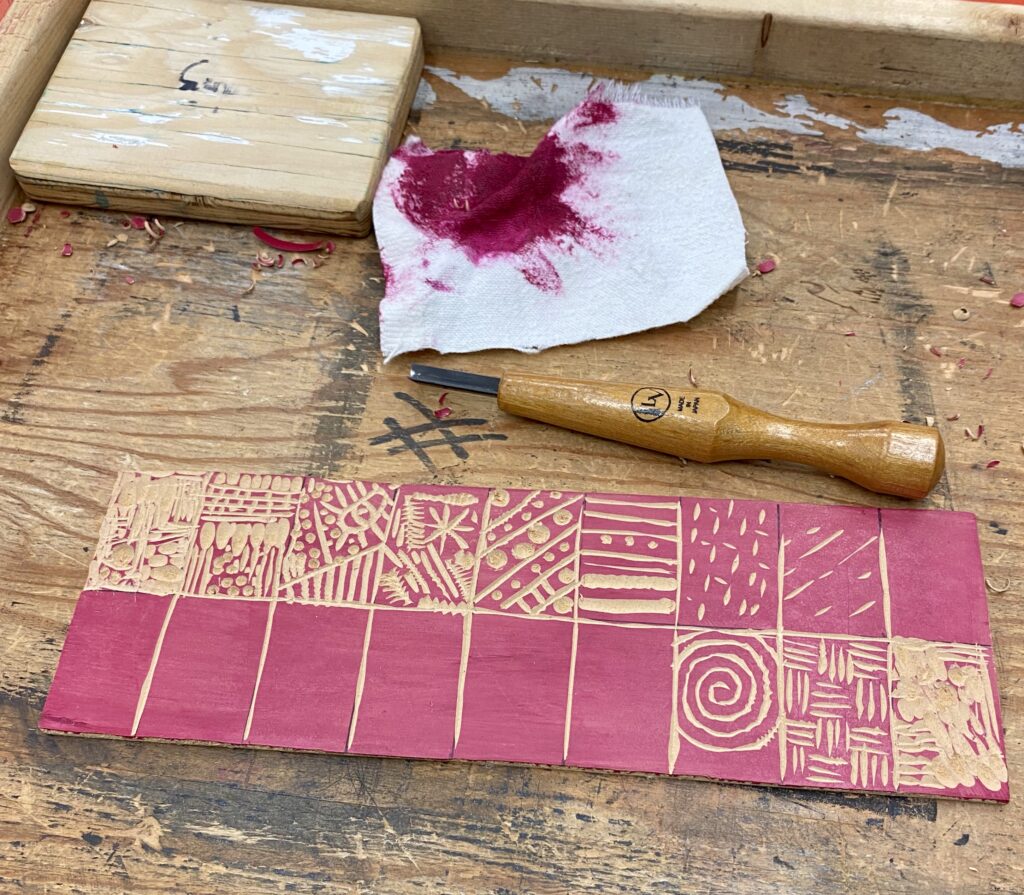
Creating marks with the tools! It was harder than I thought it would be. The room was also cold which caused the matrix (board) to be harder. After warming up the lino on hot plate, I experimented with the different tools to get an idea of what they could produce.
Close up of some marks into board.
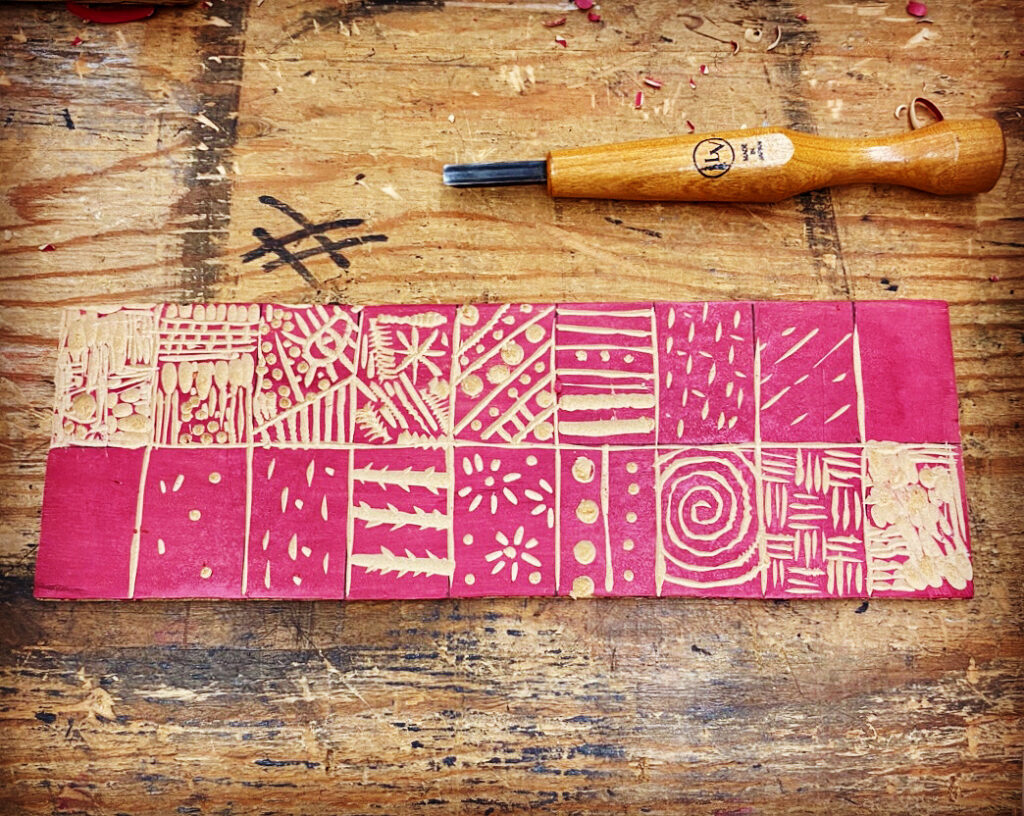
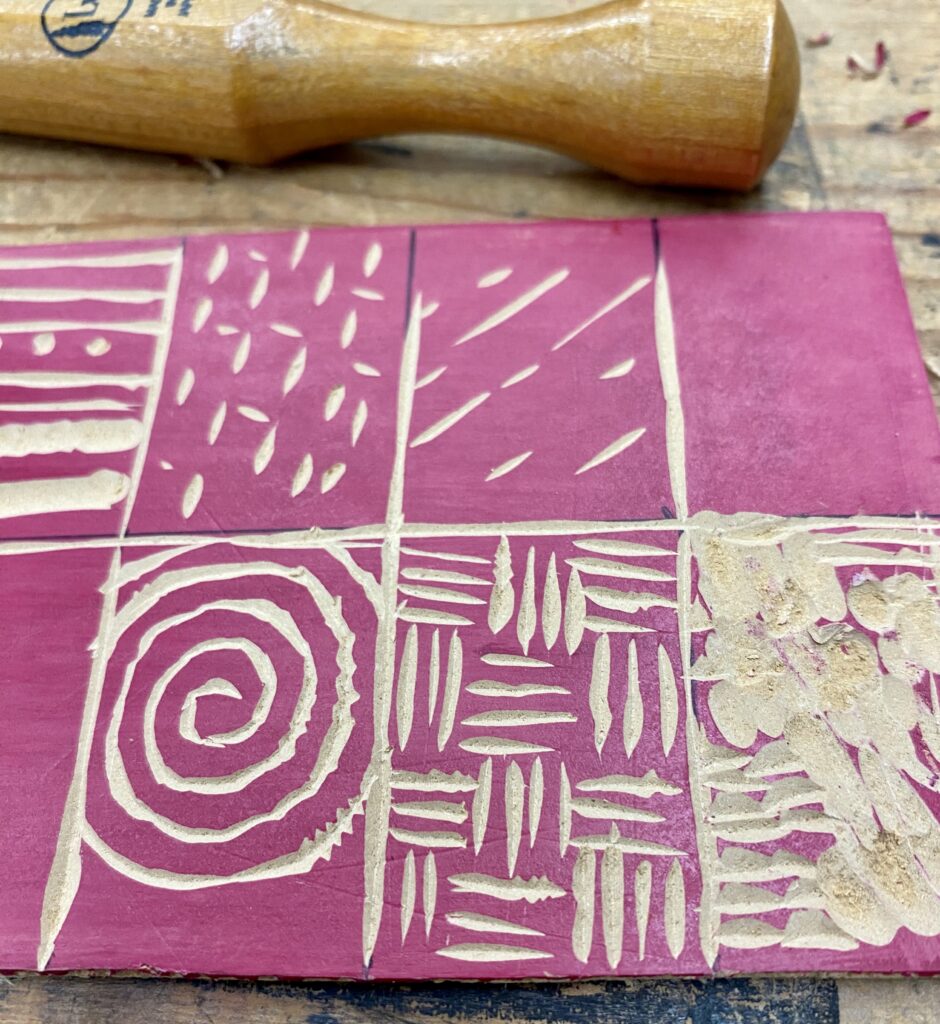
Finished Board ready for Proof printing. I enjoyed making circles.
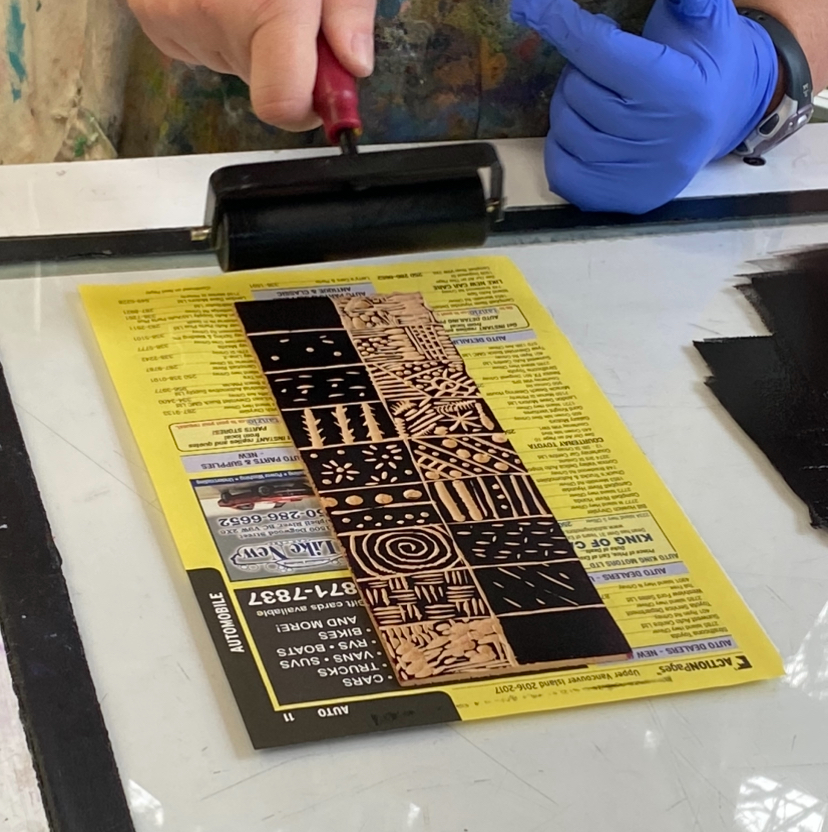
Using a brayer to ink my matrix.
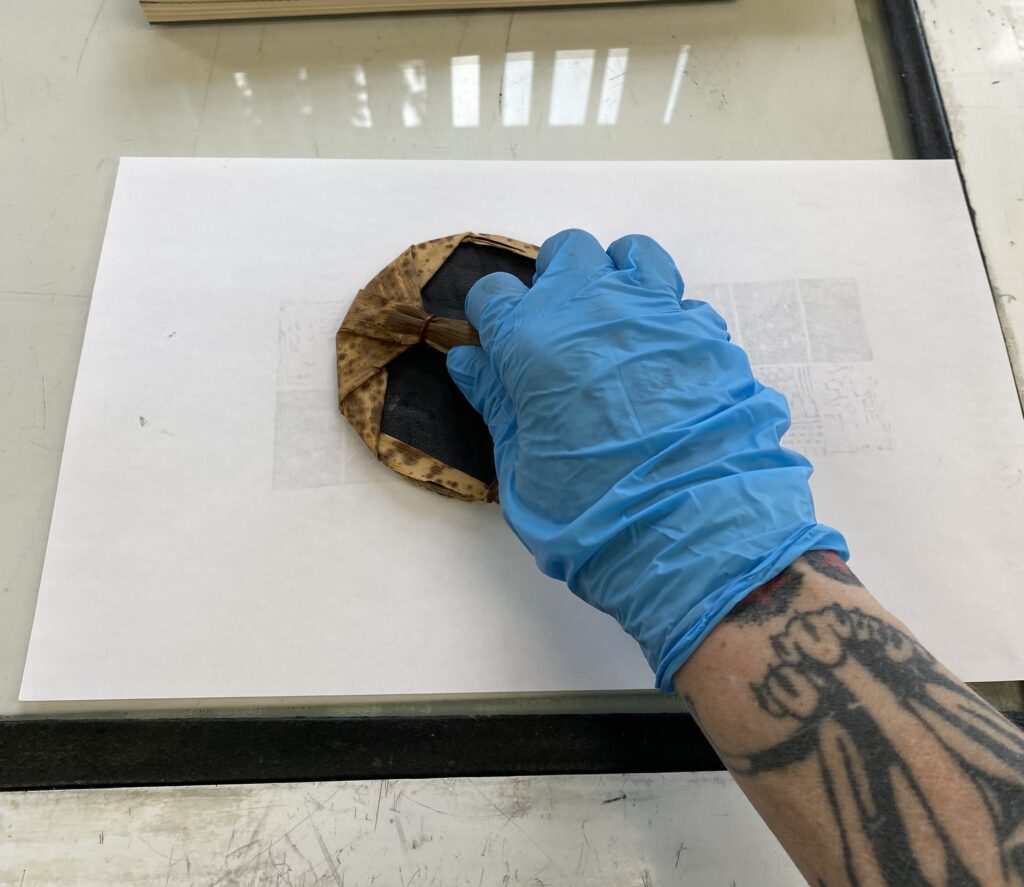
Rubbing the paper with a baren to help transfer the ink onto the paper.
Now it was time to work on a bigger piece. I chose to use baby Eve as my model.
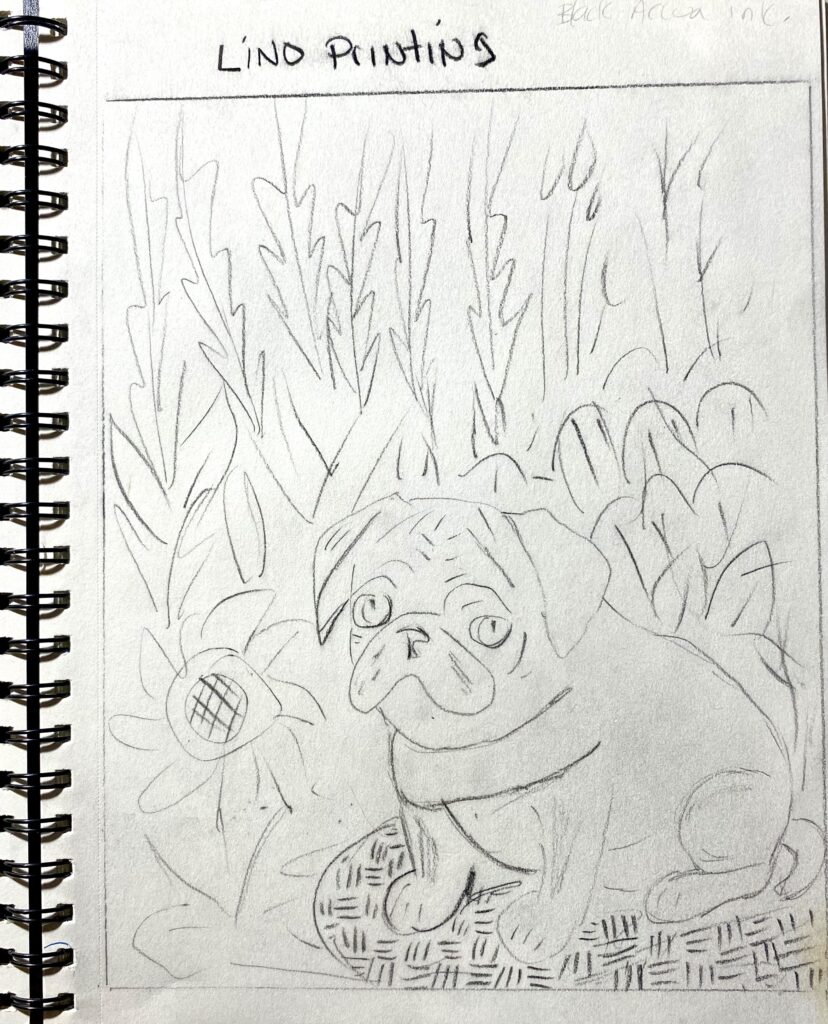
Sketchbook drawing of what I wanted to attempt.
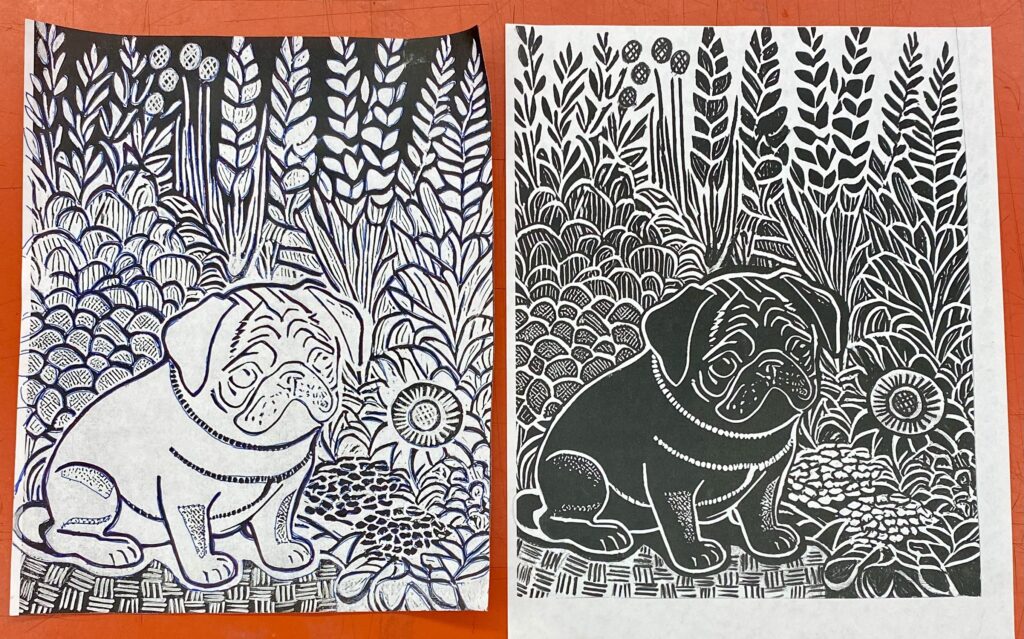
After getting the image where I wanted it, I used the photocopier to create a mirror image, and to reverse the color. This was then traced onto the prepared lino with white tracing paper.
picture transfered, and board ready to be carved.
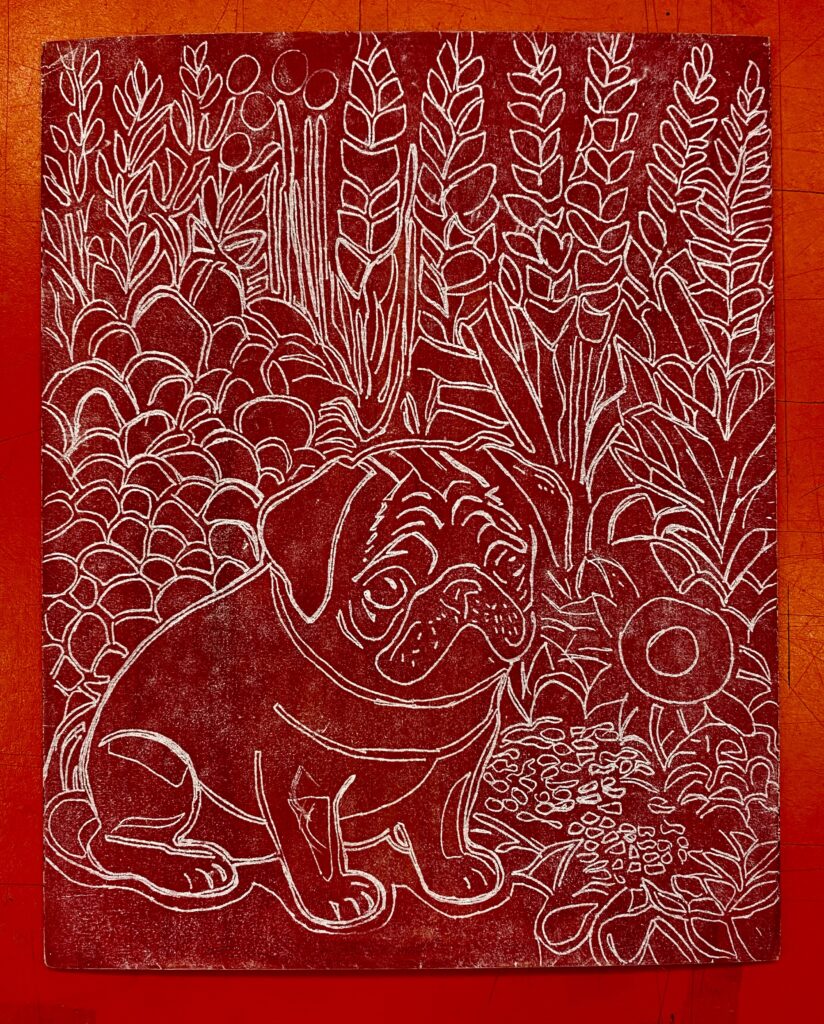
I started with the dog first and then chose random areas around it to carve. I used all three tools in this carving.
The board carves better when it is warm, and your tools are sharp.
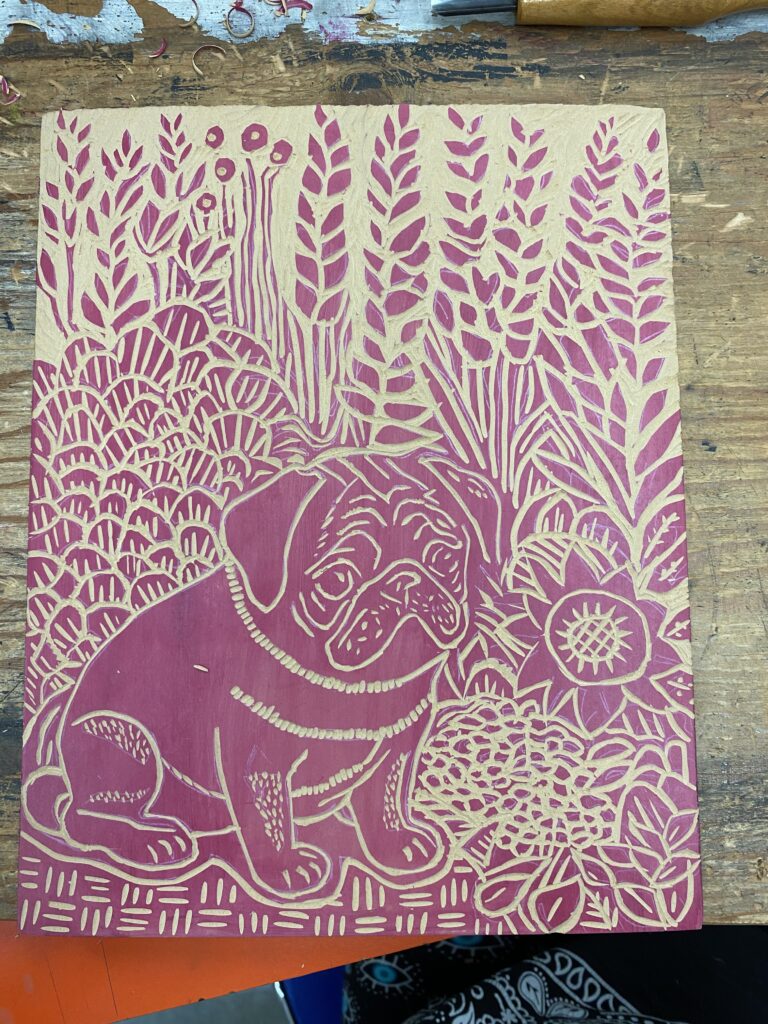
It took about 4 hours of carving to get to this point. I used a toothbrush to remove any small bits of debris away from my carving.
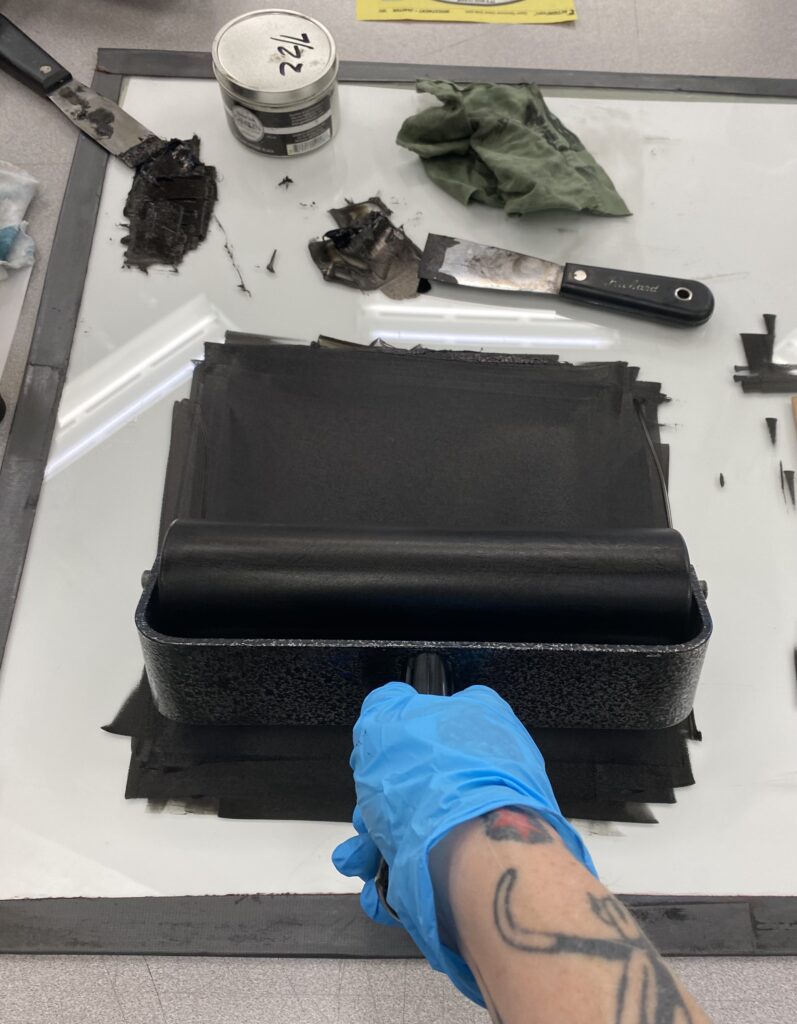
Spreading and opening up the ink
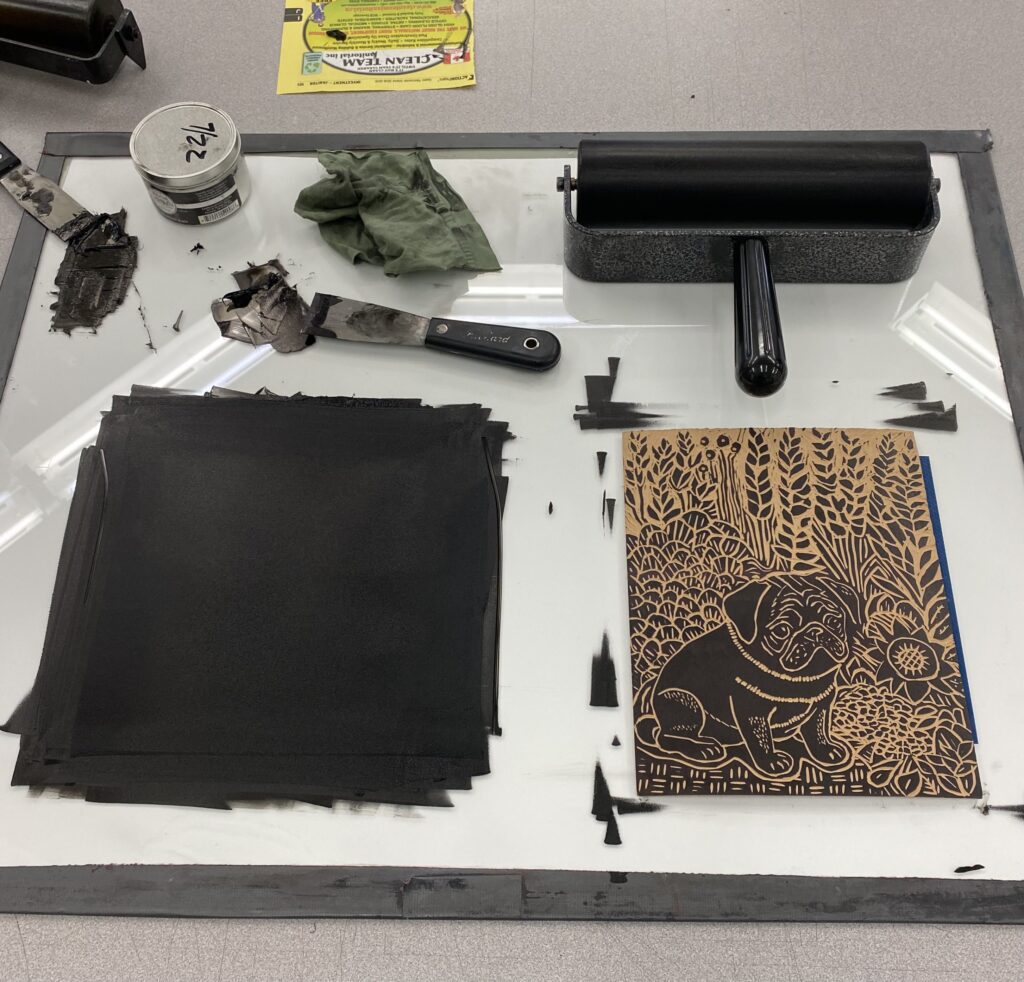
Ready to move over to the printing press.
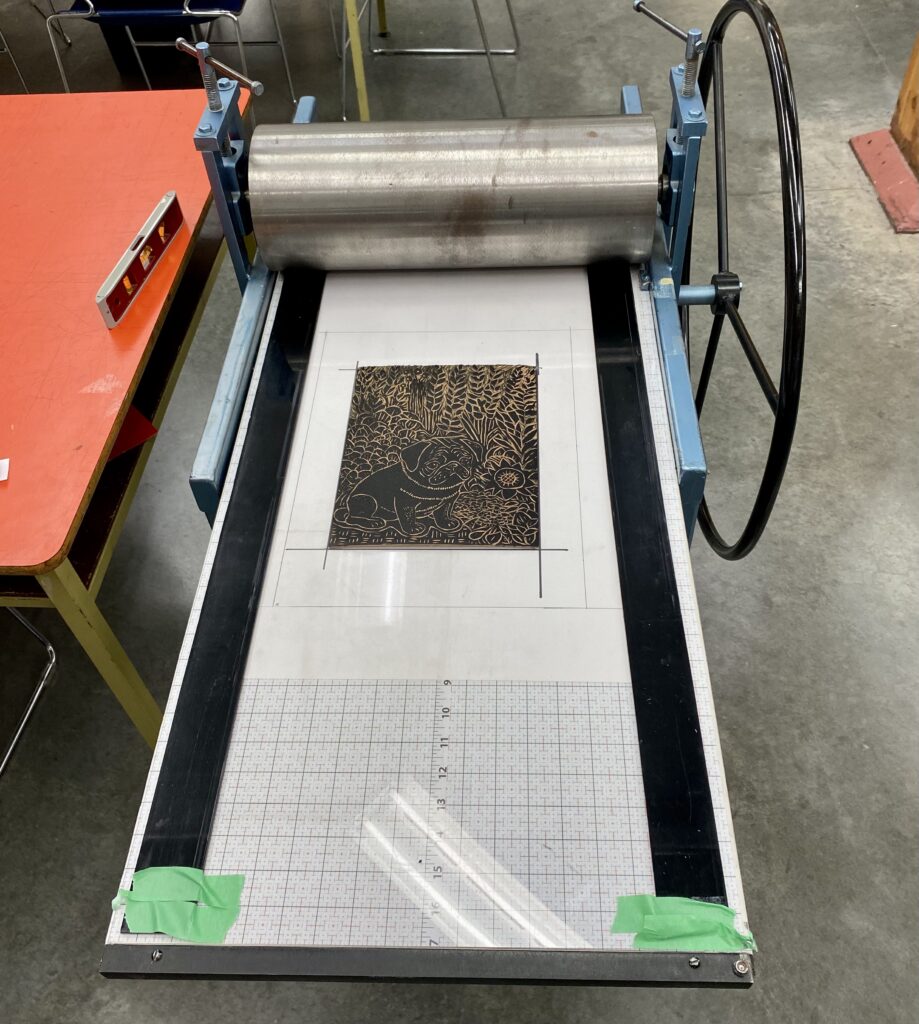
Lining up within the template
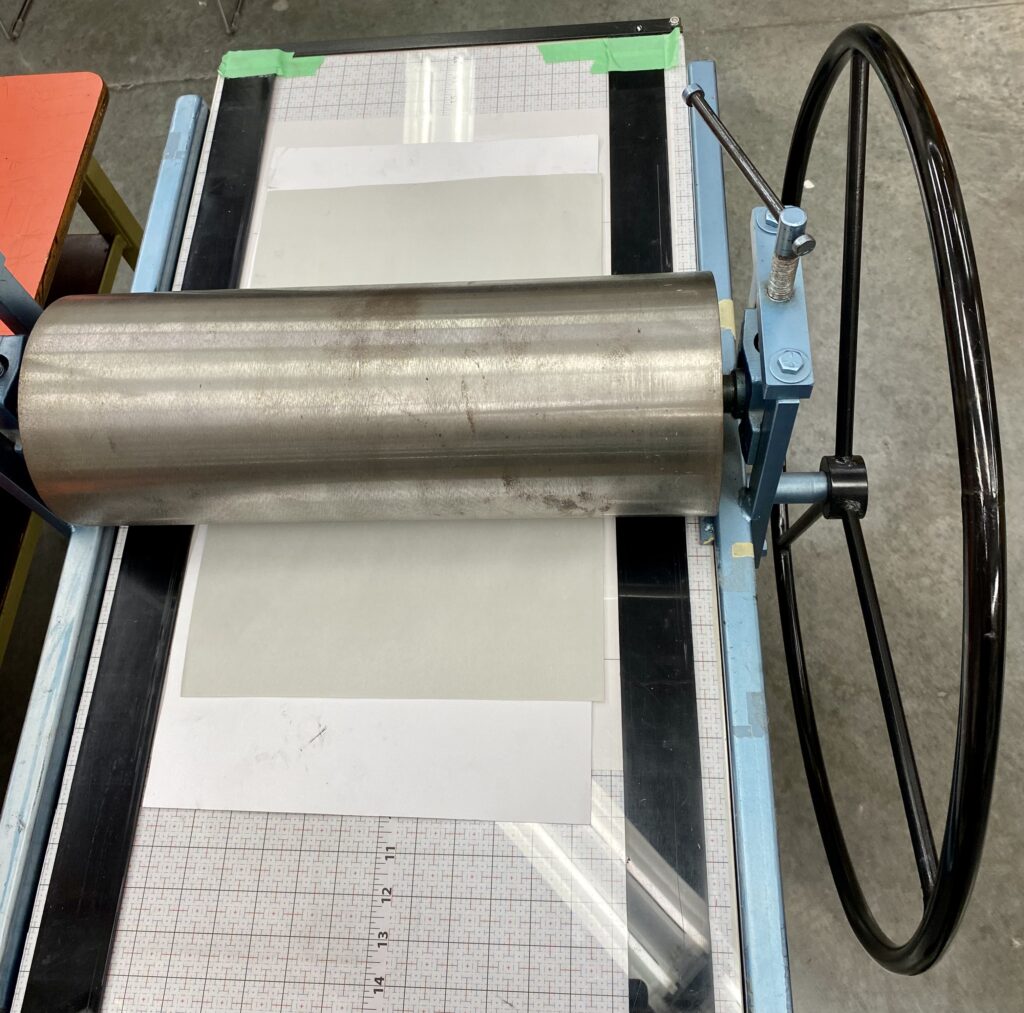
Paper layed over top inked matrix. Extra sheet of cardstock and newsprint added on top.
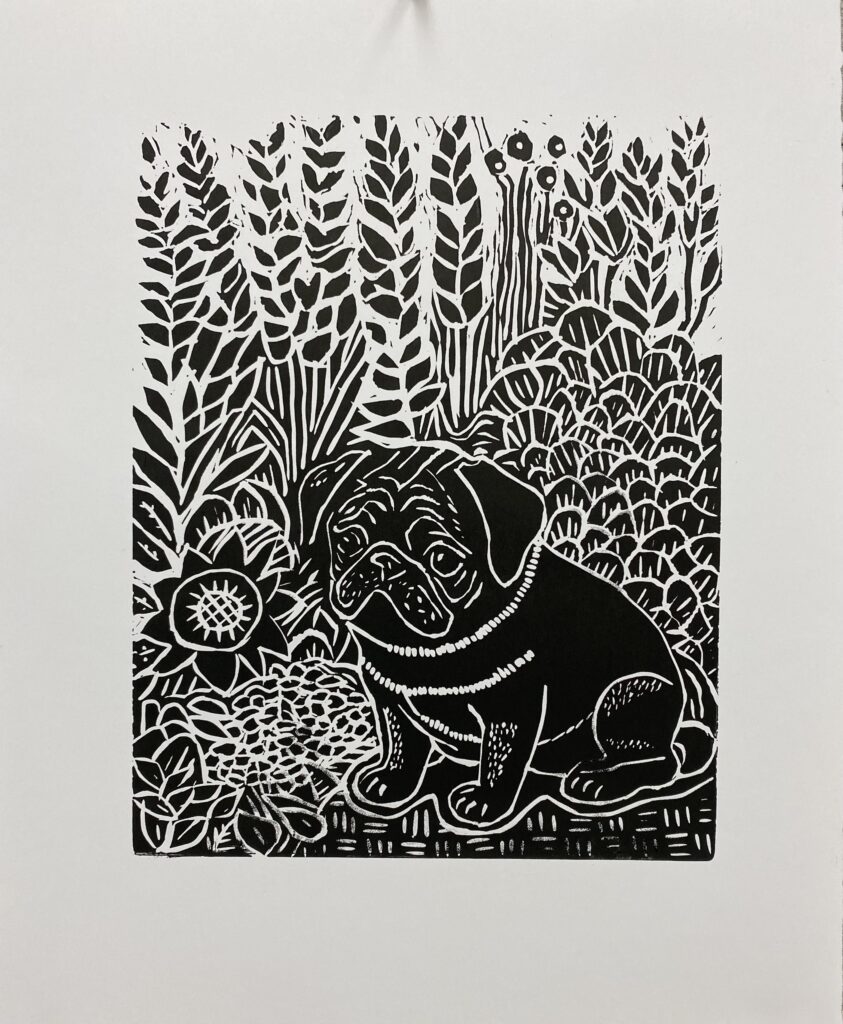
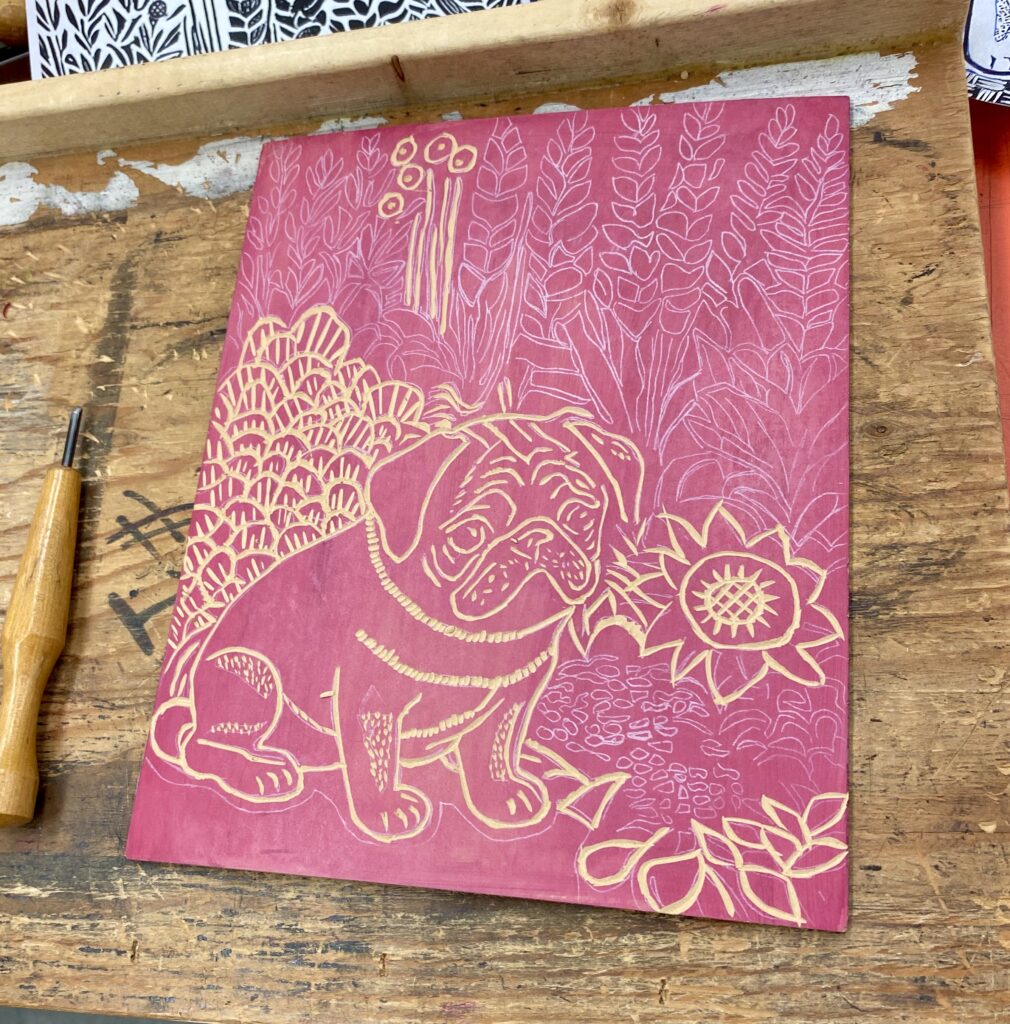
First poof. I needed to go in and carve the lines darker on the far right corner. I also changed the top neckline to include more little cuts.
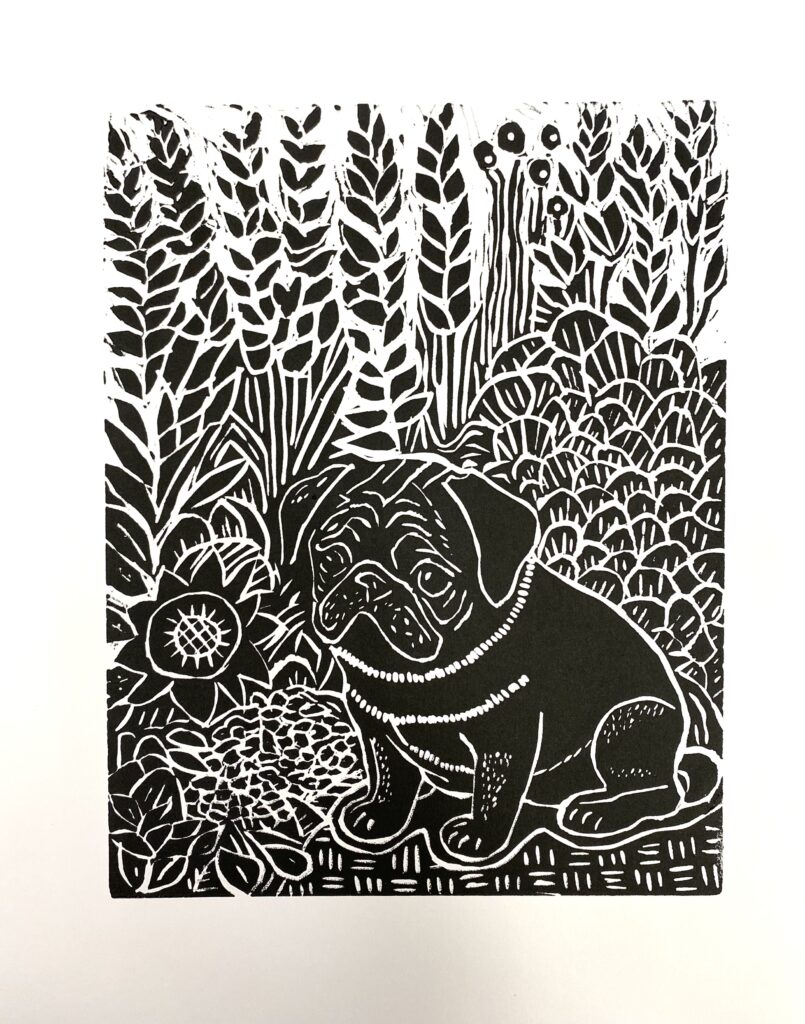
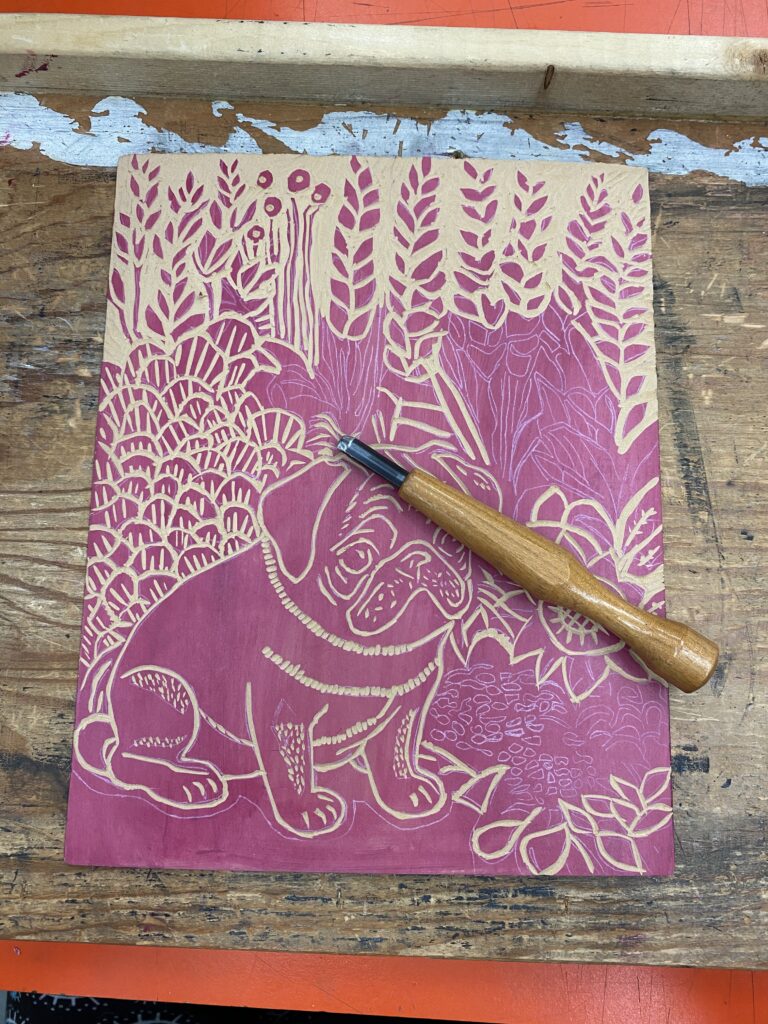
Next printing after revisions.
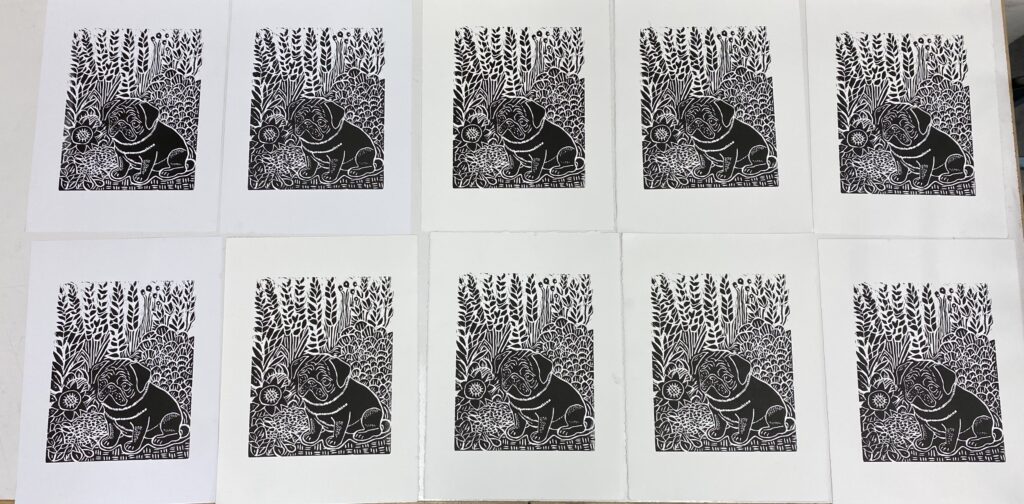
Getting into a groove and making prints on the Stonehenge Paper.
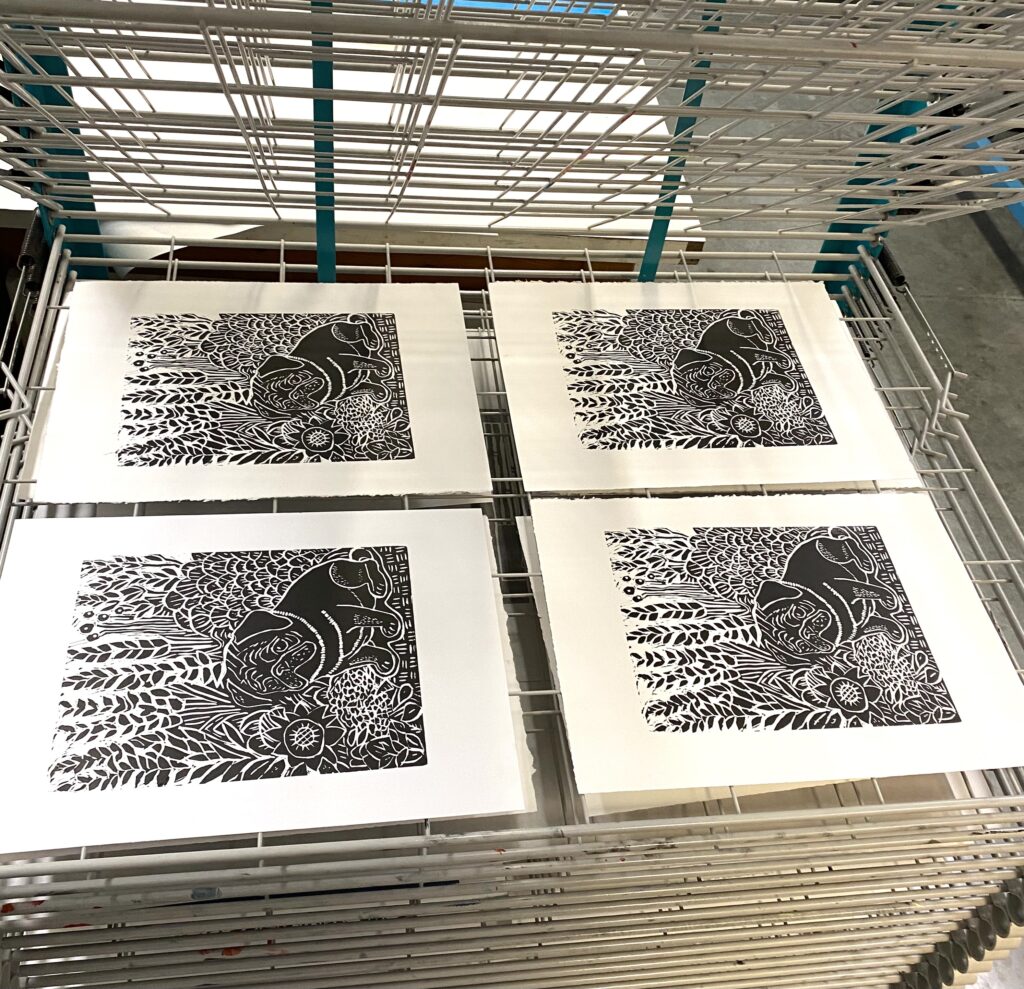
Prints in the drying rack curing.
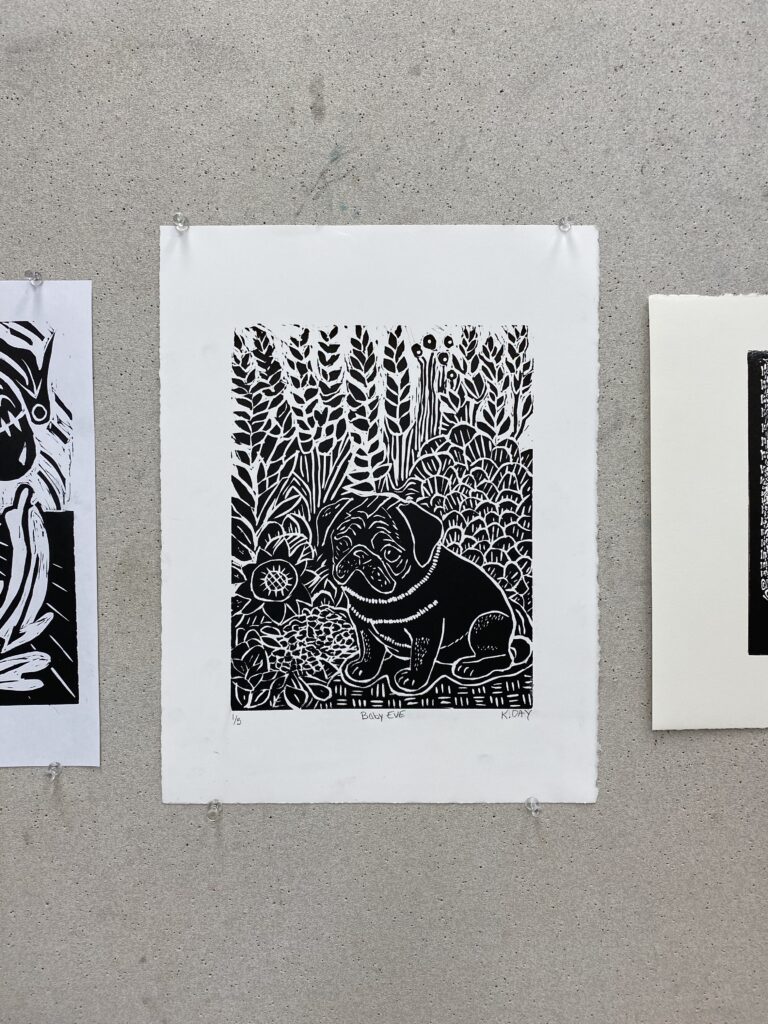
Print 1/5 Baby Eve K Day on the wall for class critique day. it was great hearing what people had to say about it, and looking at everyone else’s work.
I enjoyed the process of Relief Printmaking. I found it to be very meditating carving the matrix. My biggest challenge was trying to keep everything clean. I am a messy worker. The prints that did manage to come out ended up getting blood on them from my split fingers. In the end, I picked out the best 5 prints for my series to hand in for the unit.