Digital Creation/3D Fabrication/Workflow
This unit was a continuation from FIN 130 Unit 3 last semester. I was happy to be exploring this process again as I missed part of it last year. I had some experience with the computer programs from before, so jumped right in.
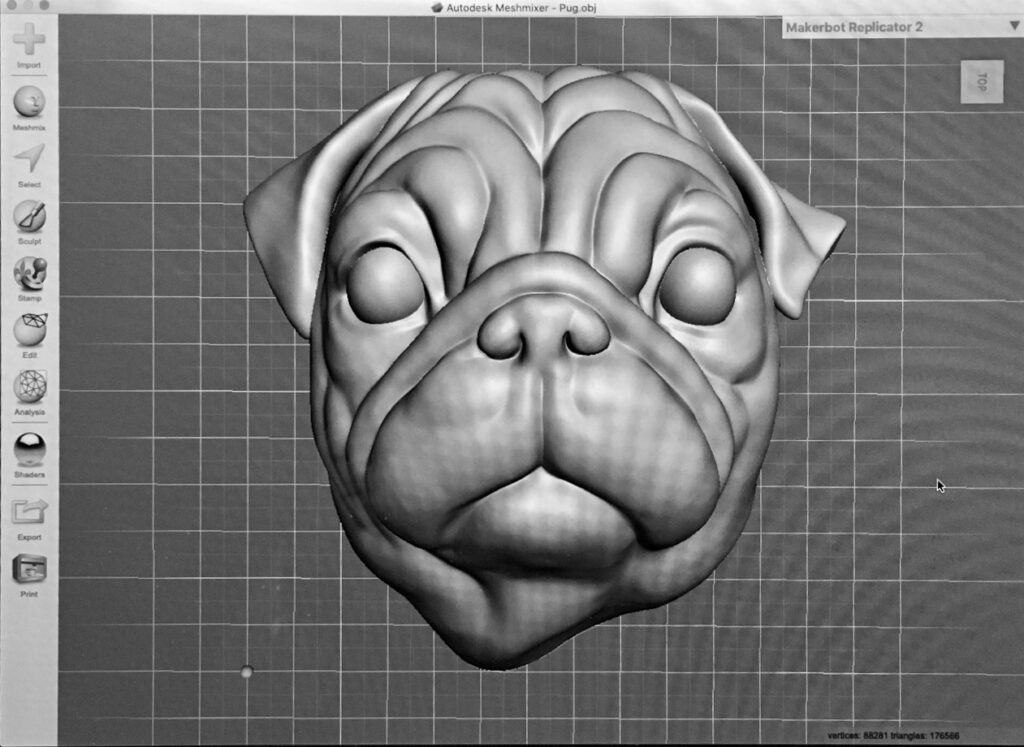
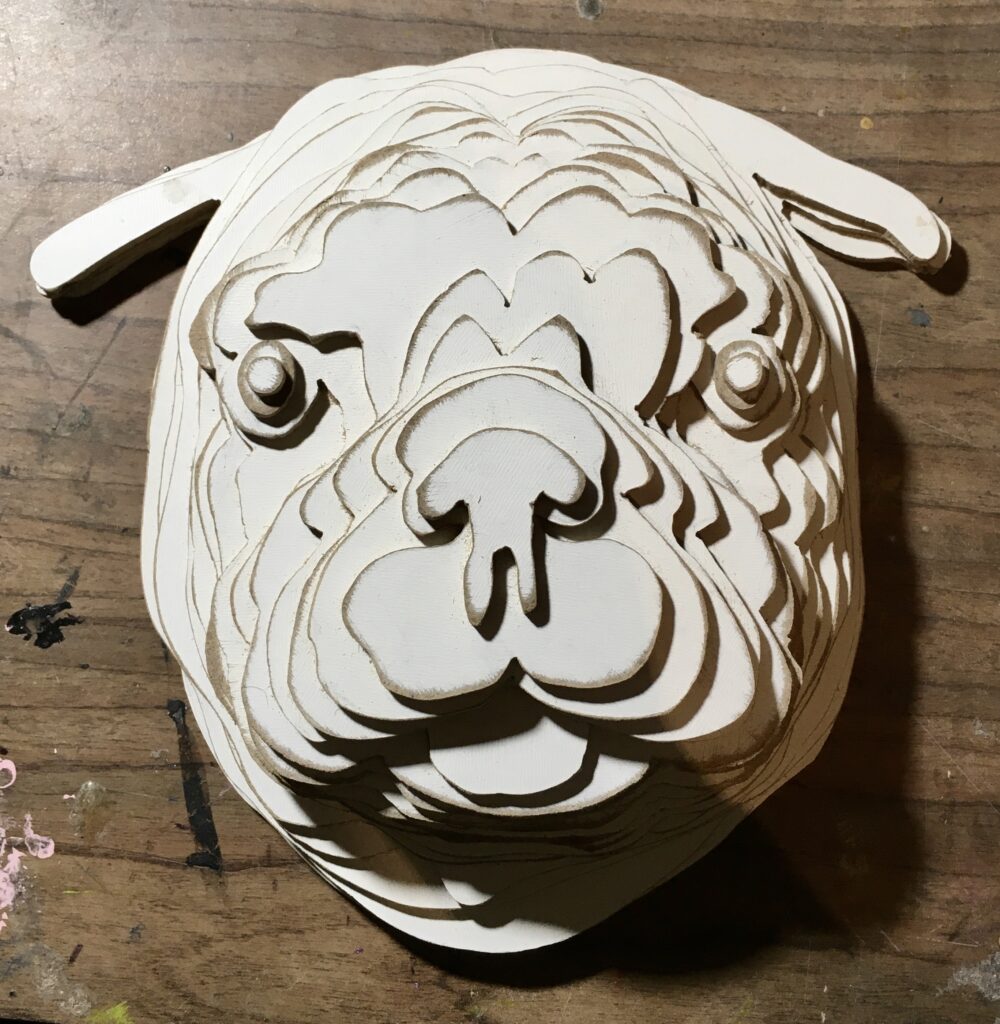
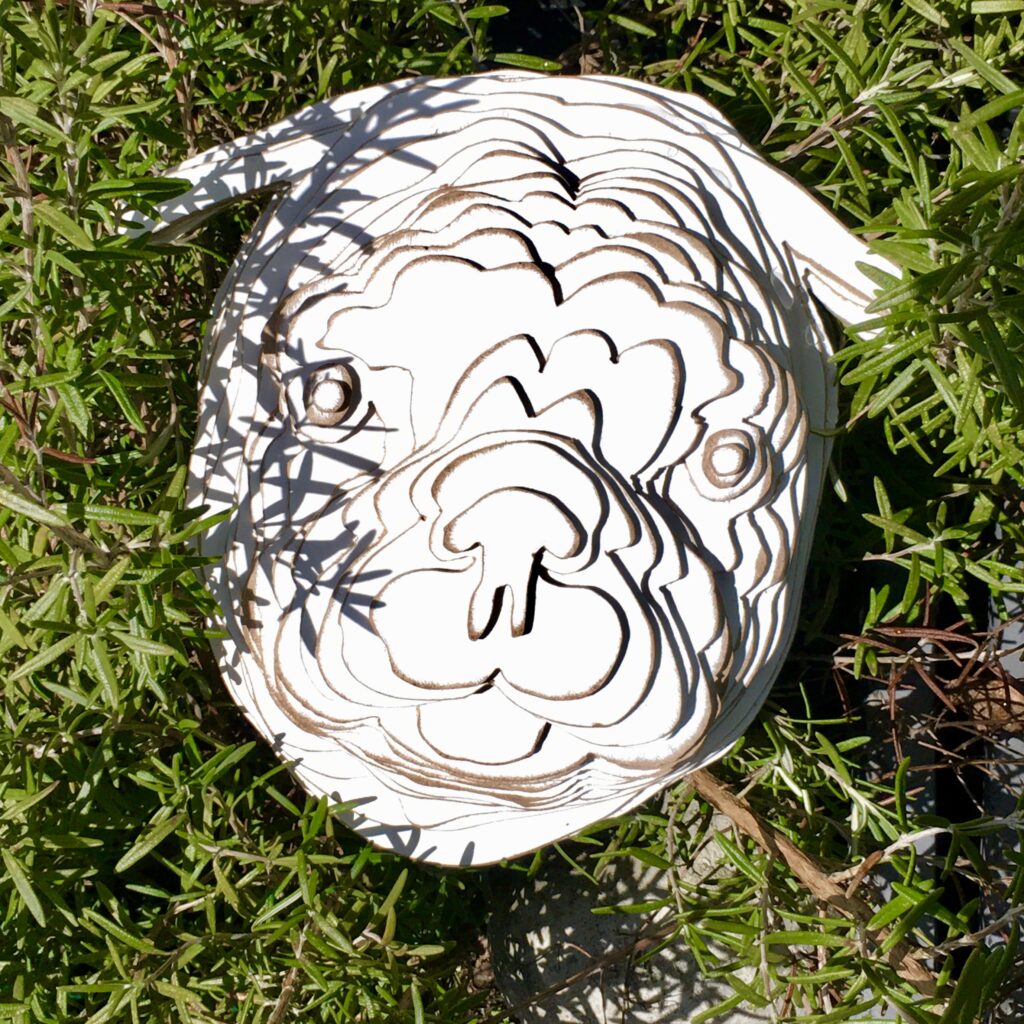
I wanted to create my dogs face in stacked wooden slices. The first program used is called MeshMixer. We needed to import, or create a .STL file. Learning new software is hard for me, so I decided to import a ready made .STL file of a pug face, and do some alterations in MeshMixer. I softened the neck and filled the image in to be a solid shape. It was now ready to be transported to the next program.
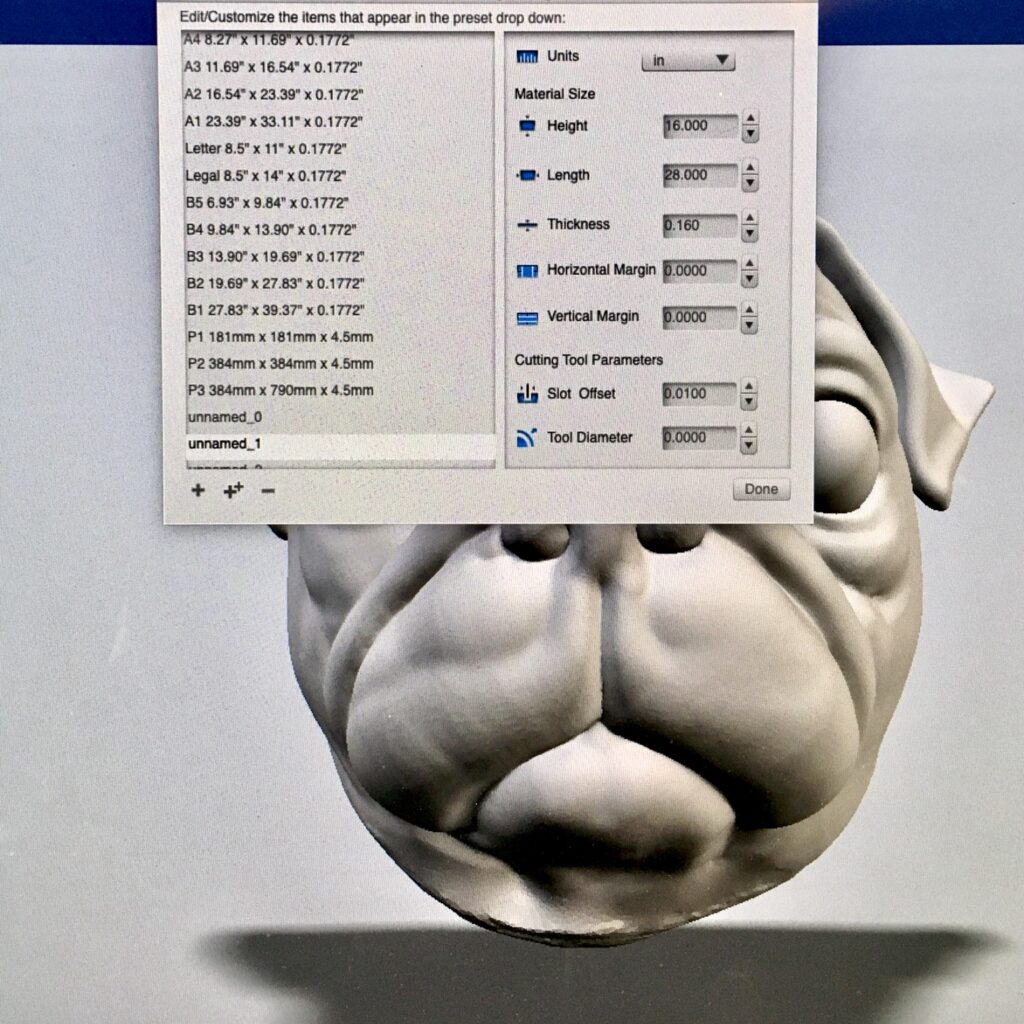
The next program used is called Slicer. It is a fun one because is slices your image up into all sorts of slices. I imported my image in and changed the standard settings to new ones. They now reflect my material size and thickness.
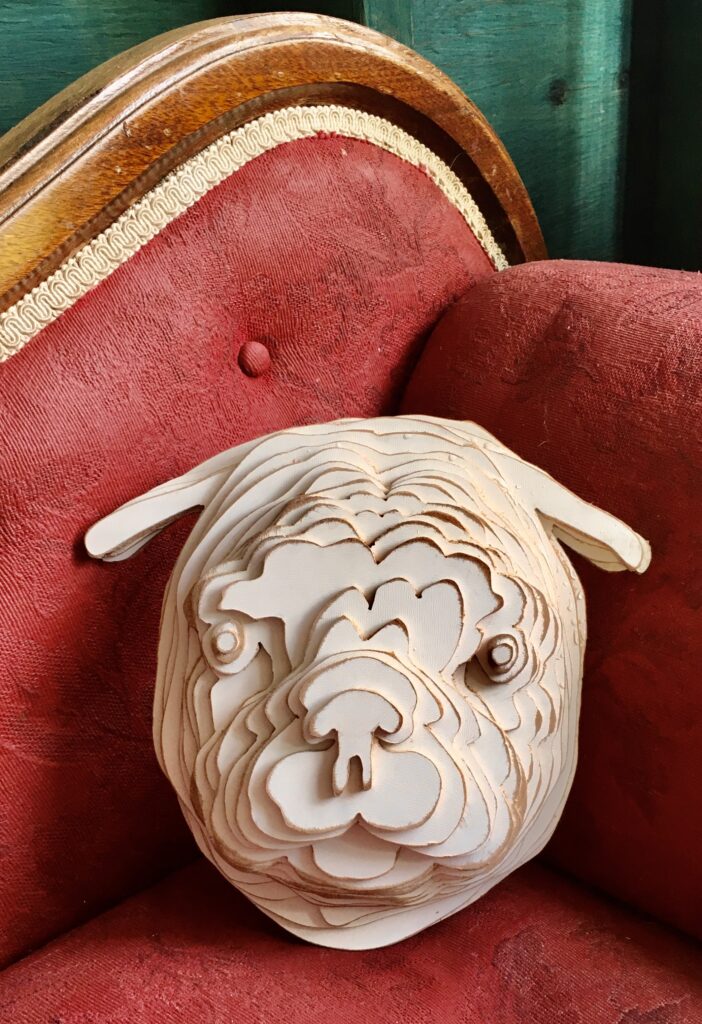
As this was being cut out of wood, we were using the stacking slices format.
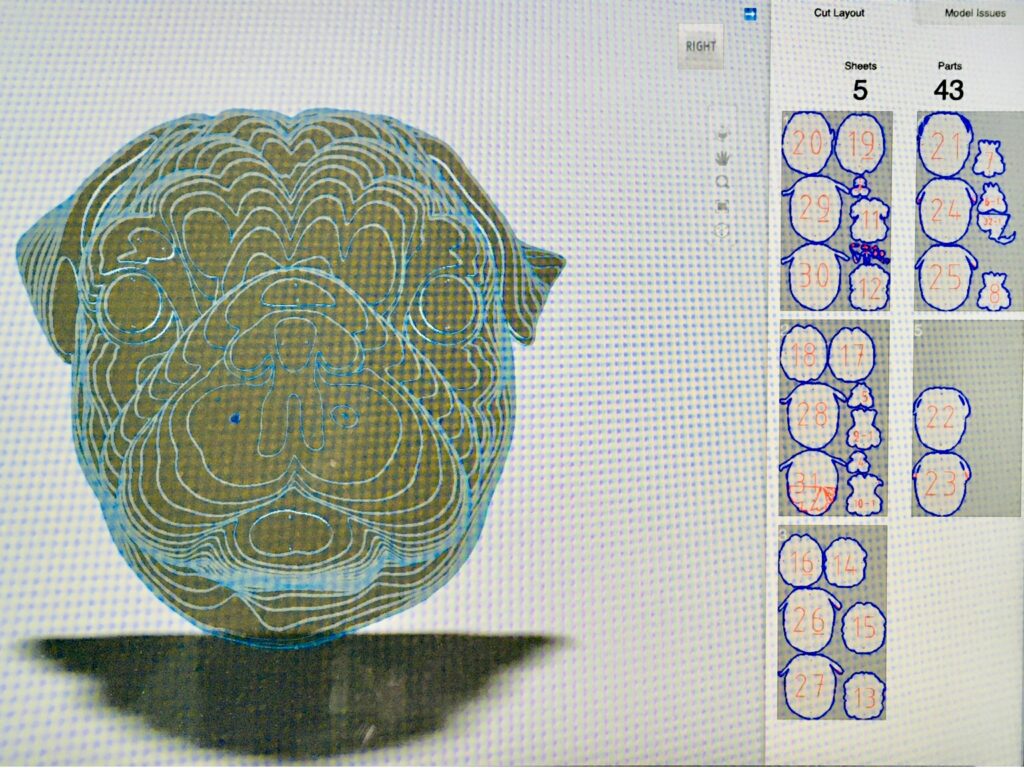
I changed the way the slices would be cut to go from the back of the head to the front of the face instead of from the chin up to the top of the head. This provided a neat topographic map sort of feel. A pattern in generated of all the slices. This gets saved as a .PDF file to be imported to the next program.
The file is imported into Inkscape and it is prepped for printing out onto paper. Maggie from the digital printshop printed it out onto paper for me. I used carbon paper and traced the design pieces onto the thin plyboard.
Time to go into the wood shop and cut the pieces out. I had forgotten how much fun it can be cutting things out with a bandsaw. I was in the flow and got everything cut in one afternoon. I brought the pieces home and gave them a light sanding. It was very straightforward to stack. I used Gorilla Glue to glue it together. I omitted a few pieces in the head as it seemed heavy and they were not needed.
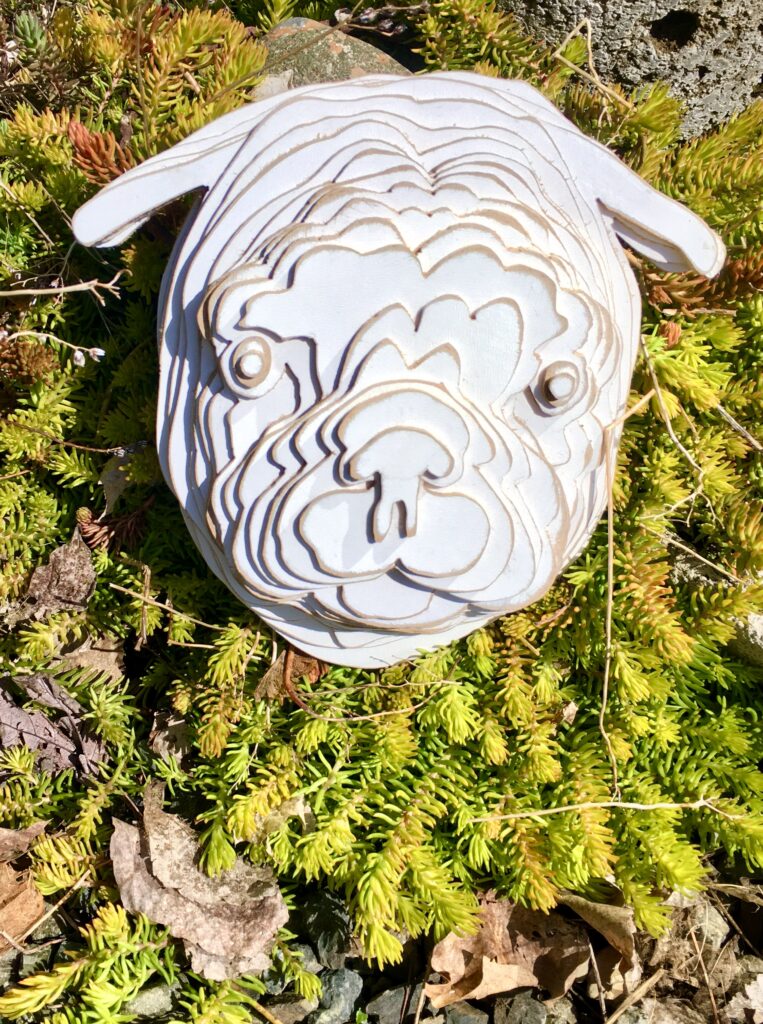
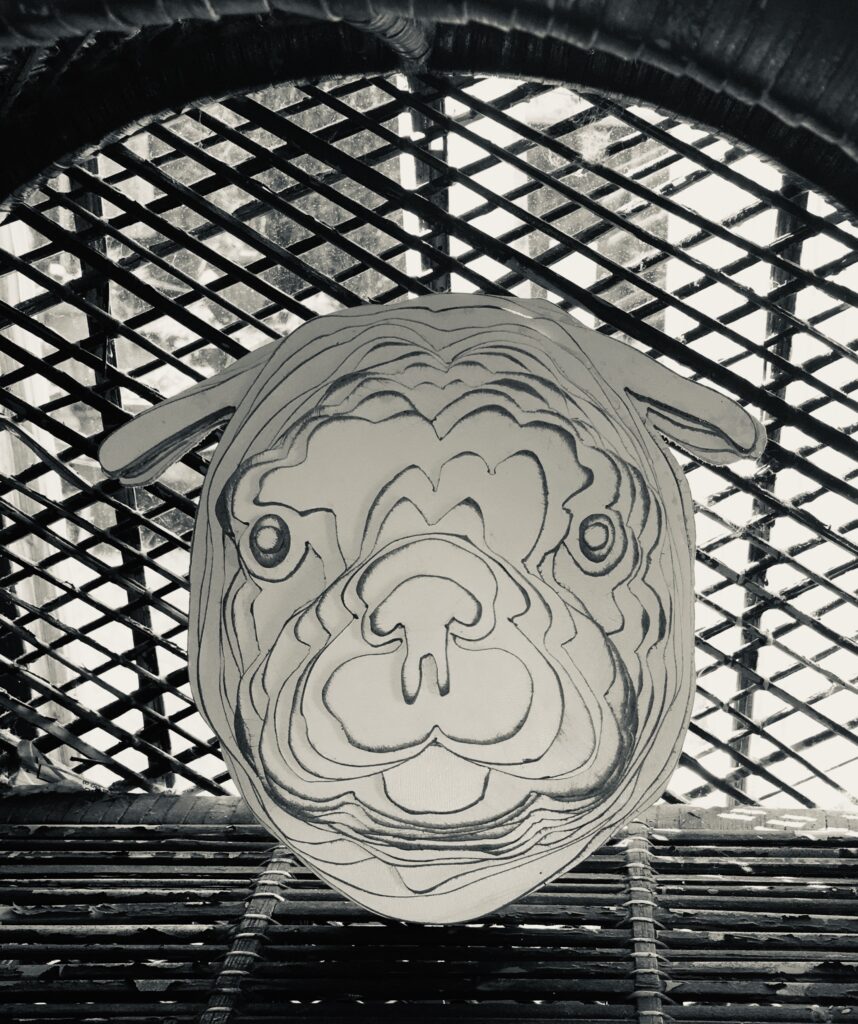
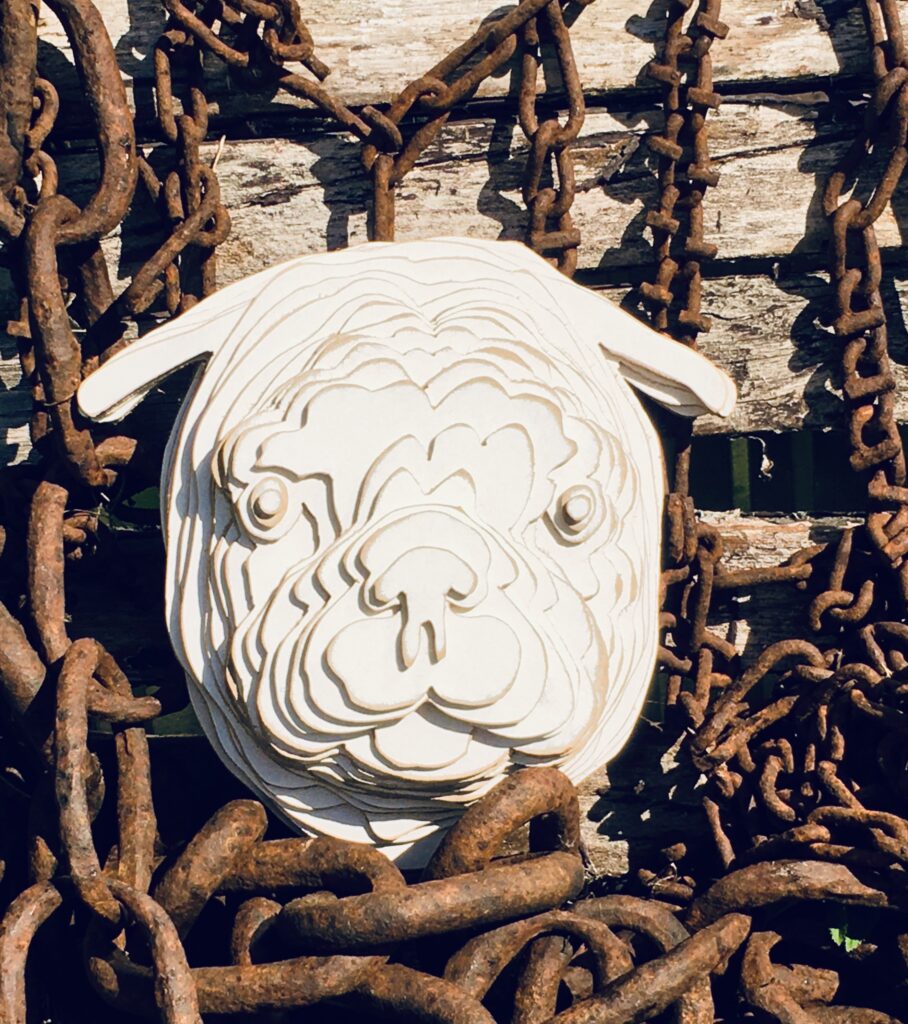
I originally thought I would paint the sculpture black. I stacked a few of the extra pieces I had left over and experimented with painting, staining, etc. Everything I tried seemed to flatten the look or take away from it. In the end I decided to just keep it white.
I thought about all the fun places I could take photos of this around my yard, so the first sunny day out I went.

I will be exploring this process more in the future.